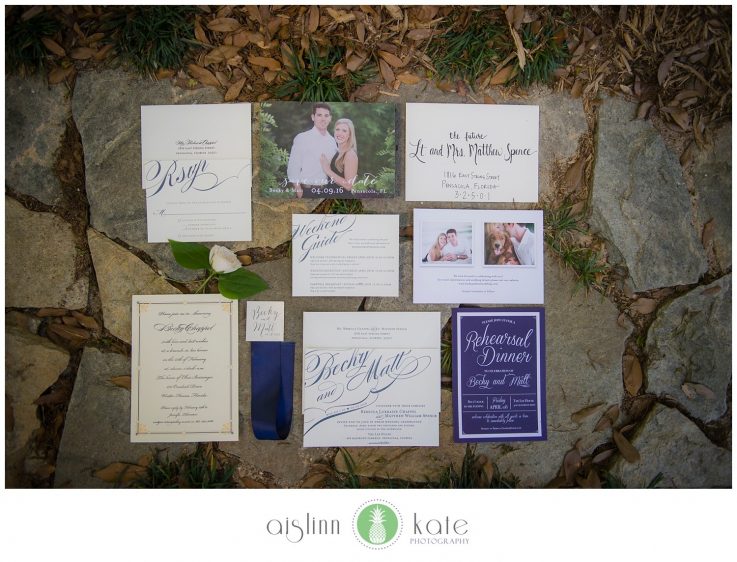
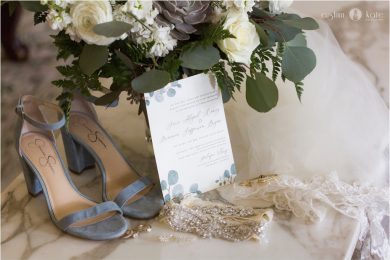
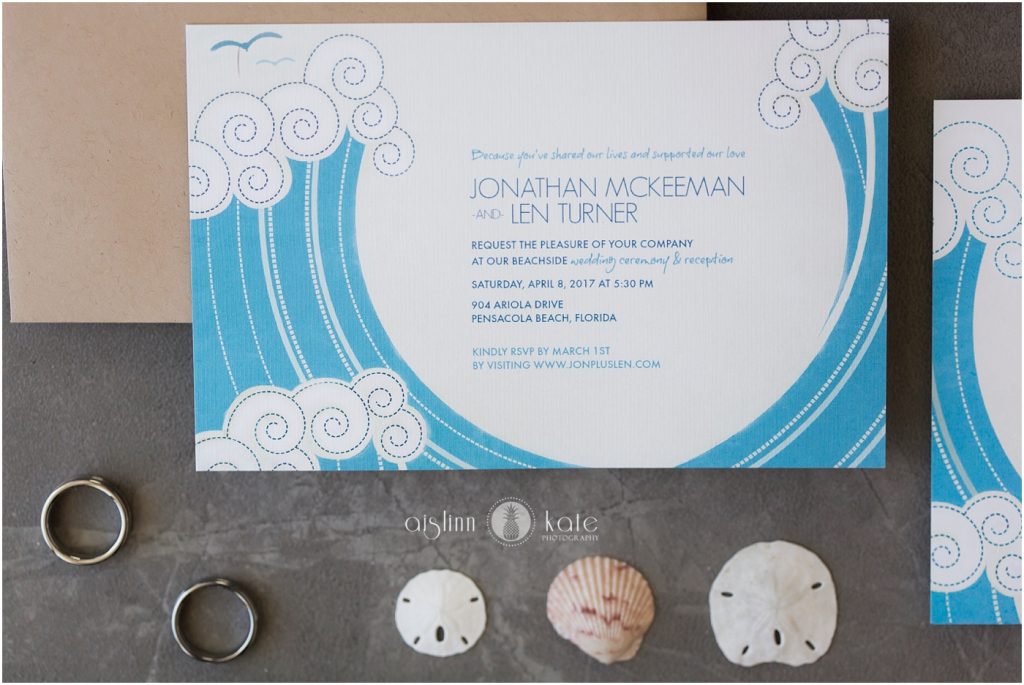
The wedding planning 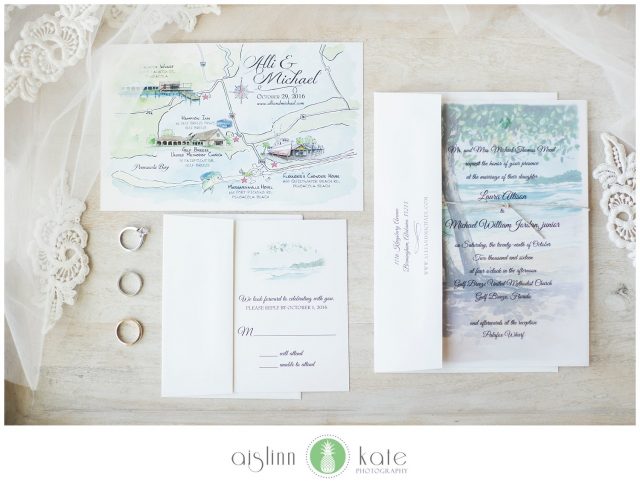 process has begun. You have a date confirmed, a venue booked, and a guest list in place. Now, you need to get the word out to all of your guests! Like most aspects of wedding planning, invitations can be incredibly simple or outrageously ornate. And while individual tastes vary widely on the appearance of invitations, the etiquette regarding invitations is pretty universal.
In regards to timeline, invitations should be sent six to eight weeks prior to the wedding. While many couples tend to want to bump up this time frame, an earlier timeline will actually decrease your RSVP response rate. Guests forget in the craziness of everyday life. So if your inclination is to notify people earlier, send a save the date instead. These can go out as early as eight to twelve months ahead of the date as they require no immediate action. The only exception for a six to eight week timeline for invitations is in the case of a destination wedding. If guests need to travel extensively, a three month lead time works best.
As for the RSVP deadline, the best target date is two to four weeks prior to the wedding. This timeline allows a buffer as you’ll inevitably need to follow up with the non-responders. However, check with your caterer and/or venue to find out when they require final numbers. If they ask for a head count two weeks before the wedding, pad your deadline by at least a week to give yourself plenty of time to follow up.
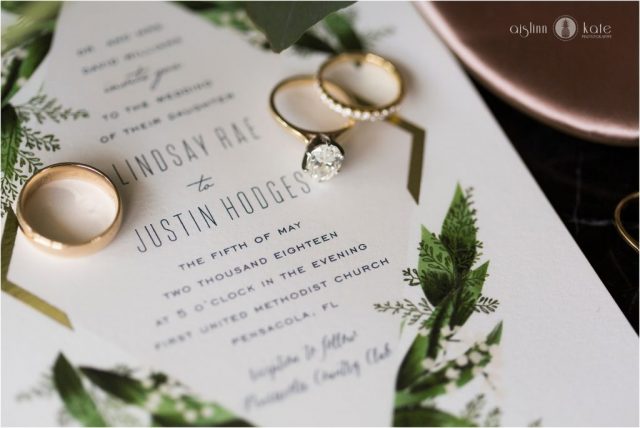
When it comes to formal invitations, couples have lots of choices regarding exact wording. Mostly, this varies based on who is hosting (a.k.a.paying) for the wedding – whether it’s the couple, one set of parents, both sets of parents, or a combination of all. For a list of some options when it comes to the host language, click here. Other than the intro, the basic details that need to be included are universal. These include the couple’s names (with last names included), the date (with days, dates, and year written out in full), the time (also written in full with “a.m.” or “p.m.” omitted – use “in the morning/afternoon/evening” instead), and the location (to include address without zip code). For more details regarding these rules, click here.
 Now that you know what to include, the rules are also firm on what NOT to include. Registry information should never be included on an invitation. These details can be mentioned on a wedding website or passed to guests via word of mouth. Otherwise, omit registry information from any printed materials. Mention of a kid-free reception should also be left off of the invitation; the wedding website is also a great place for this information. Alternatively, you can print individualized RSVP cards. These would allow guests to fill in the number of guests attending out of a pre-designated total. Therefore, if you’re inviting two parents from a family of six, their RSVP card would ask them to designate the total number of attending out of two (not six). This requires more work on the front end as you have to match the RSVP card to each invitation, but prevents future awkwardness.
In regards to RSVP cards, there are a few easy tips to make this process as seamless as possible. First, be sure to include a stamp on the pre-addressed return envelope. This helps increase your response rate greatly. Additionally, put a small number in the back corner of each RSVP card, and keep a list of the corresponding numbers. Guests often forget to completely fill out the card, and oftentimes, you’ll have at least one without a name on it. This extra step prevents the resulting round of phone calls when you need to track down exactly who responded without a name.
Sadly, addressing the envelopes can be the most involved part of the process. Rules regarding proper etiquette should be consulted often, and a great resource can be found here. Be sure to include the names of exactly those who are included. If children are invited, list those names (or include “ and Family”) underneath the parents’ names as outlined at the link above. If you’re providing a plus-one to a guest, make sure to designate this on the envelope with “and Guest”. Finally, be sure to order plenty of extra envelopes as there will inevitably be several mishaps along the way.
While the process can be confusing, there are lots of online resources when it comes to invitations. Be sure to do your research ahead of time to prevent extra printing and to save time. By following the rules and including all necessary information, your guests will know exactly what to expect – also increasing your chances of a better RSVP rate. Happy planning!
~ Blog by Macky

